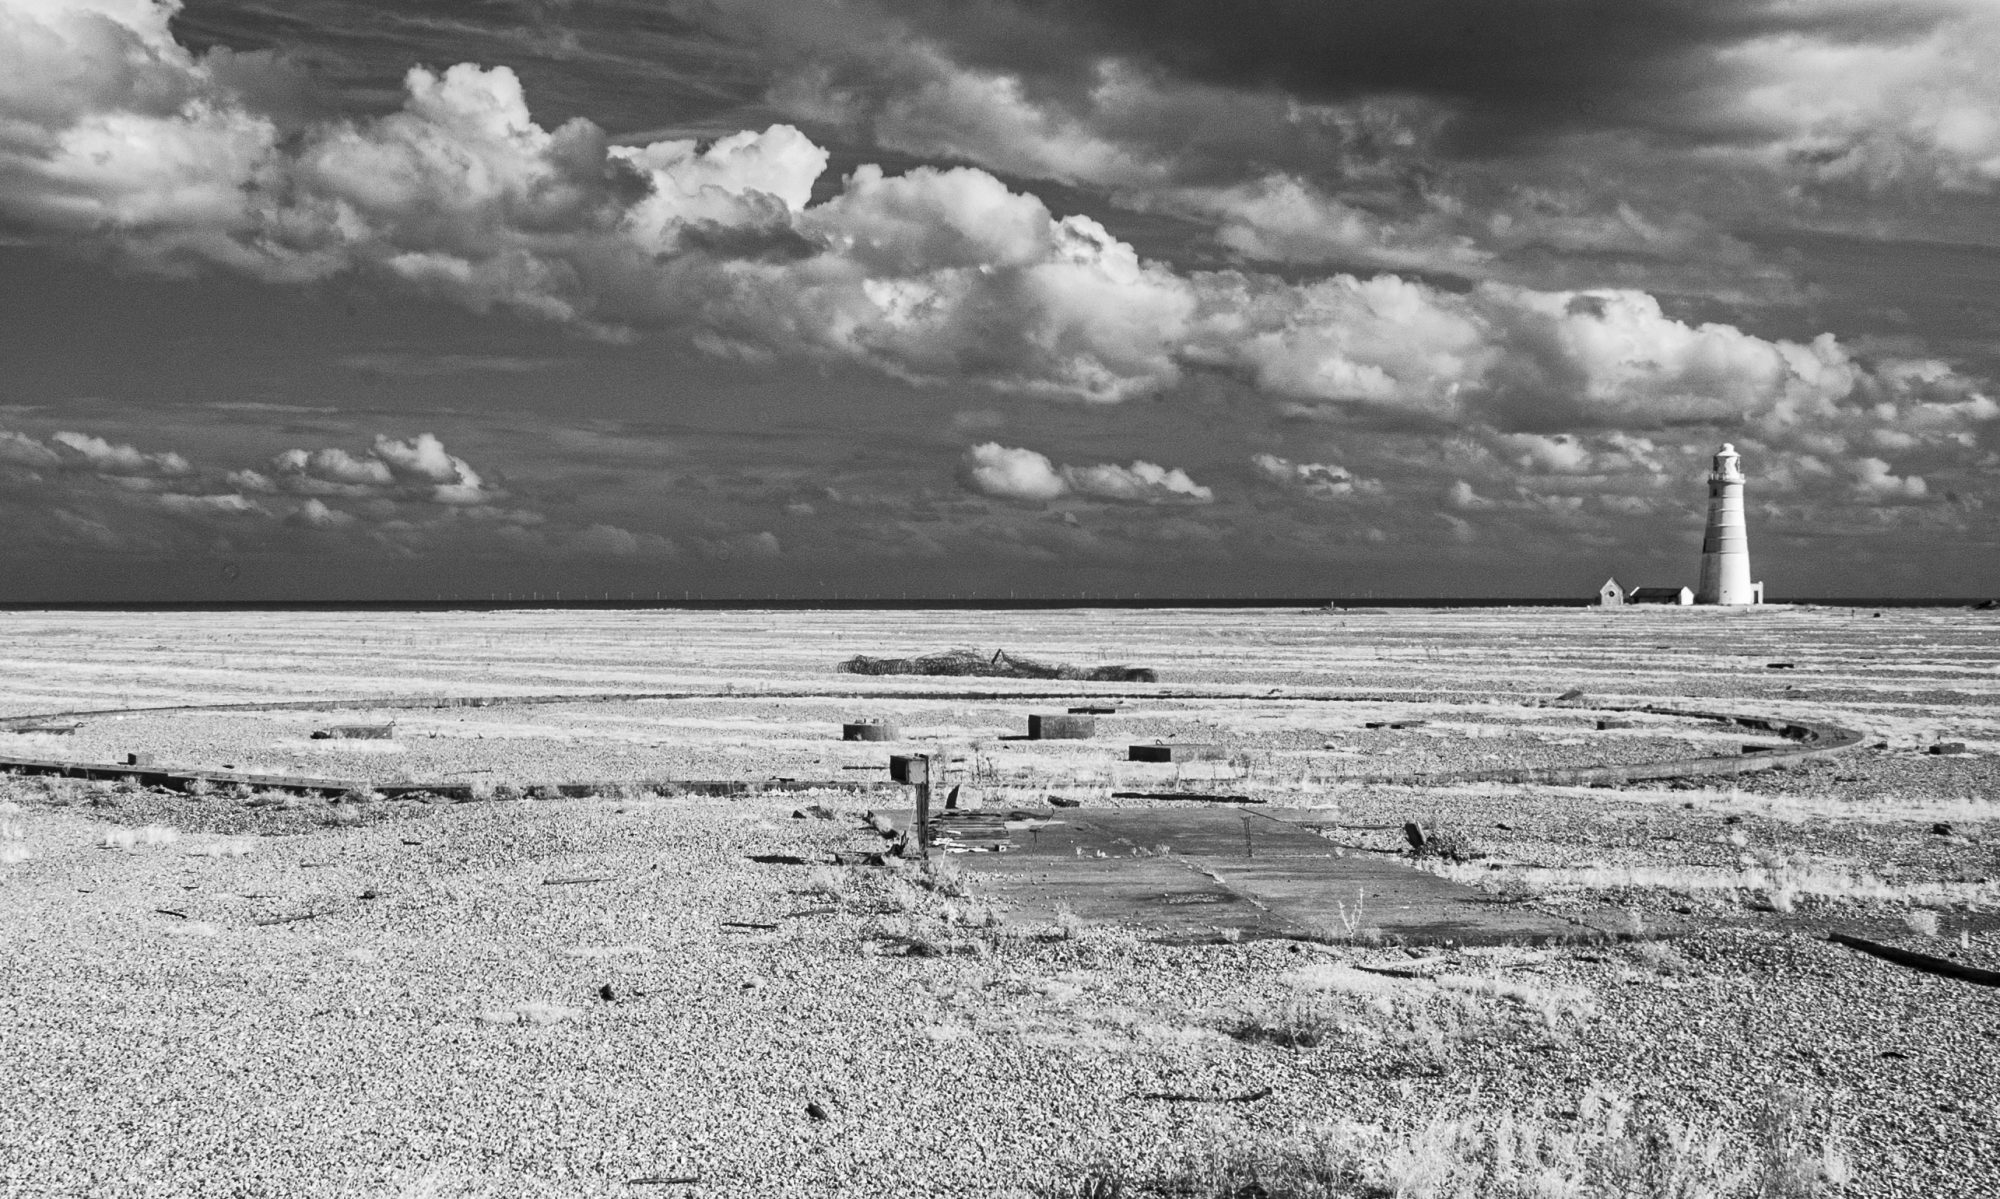
I was a bit quick to send my images to my tutor for Assignment two. I had planned to try some visual effects but when I realised that I wasn’t going to able to get out for another day, I ‘cobbled together’ what I thought was the best that I already had. With time available, I decided to experiment with the images.
I’ve been reading and trying out some of the online Photoshop tutorials, the most helpful one, I’ve cited below.
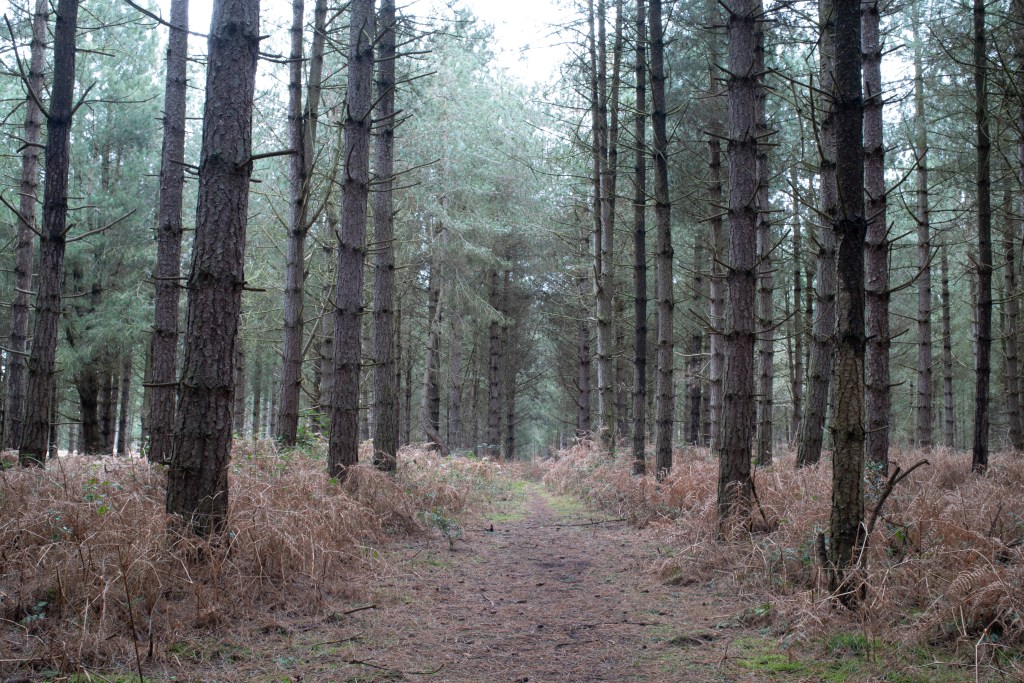
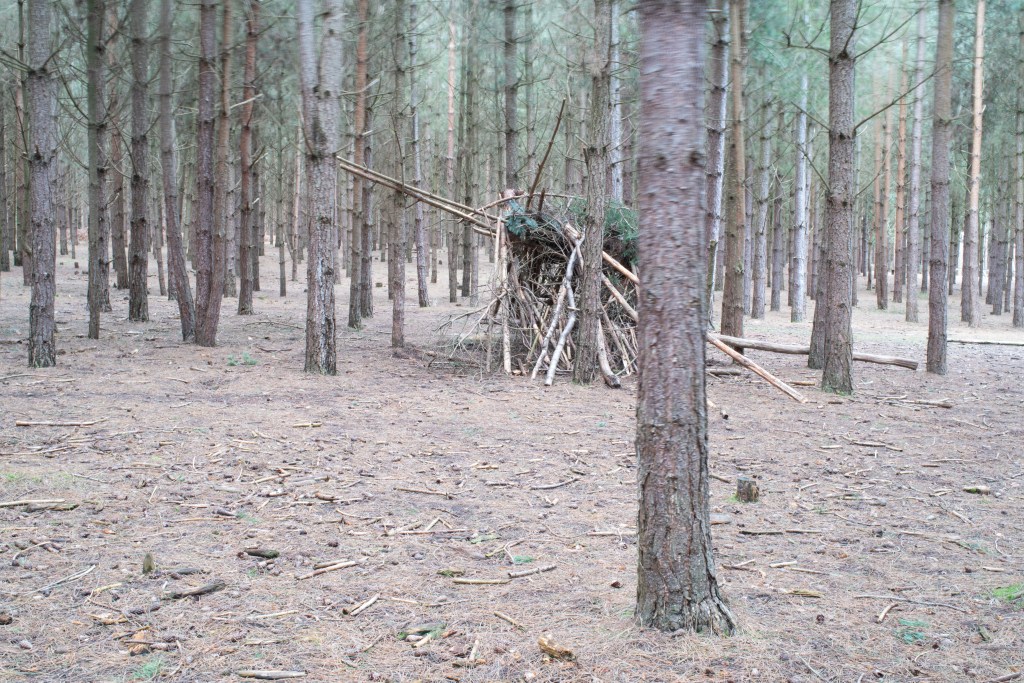
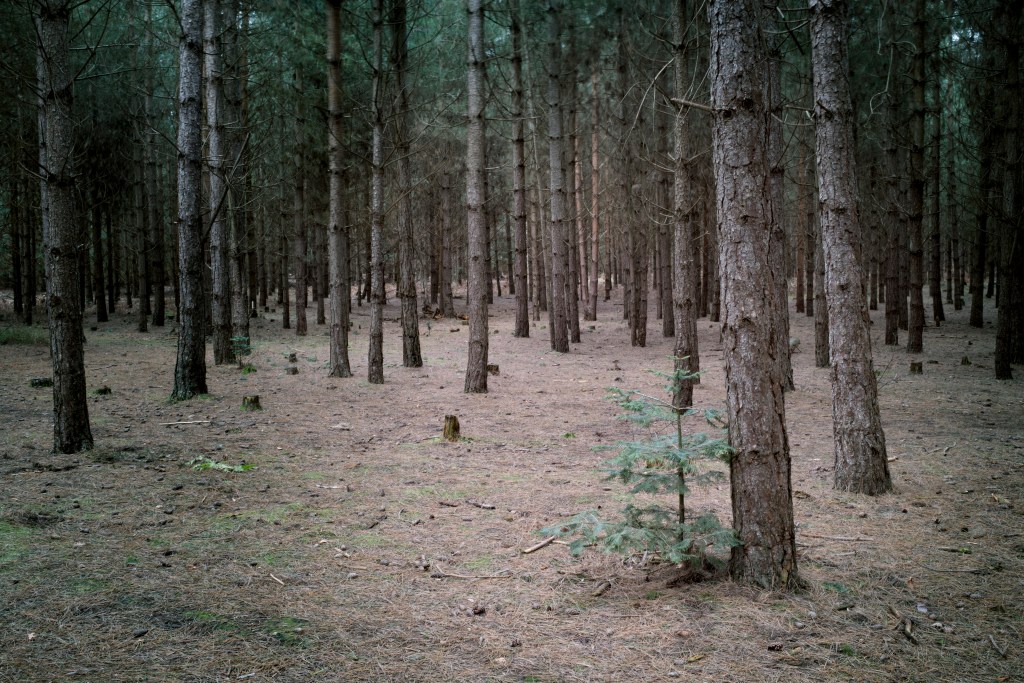
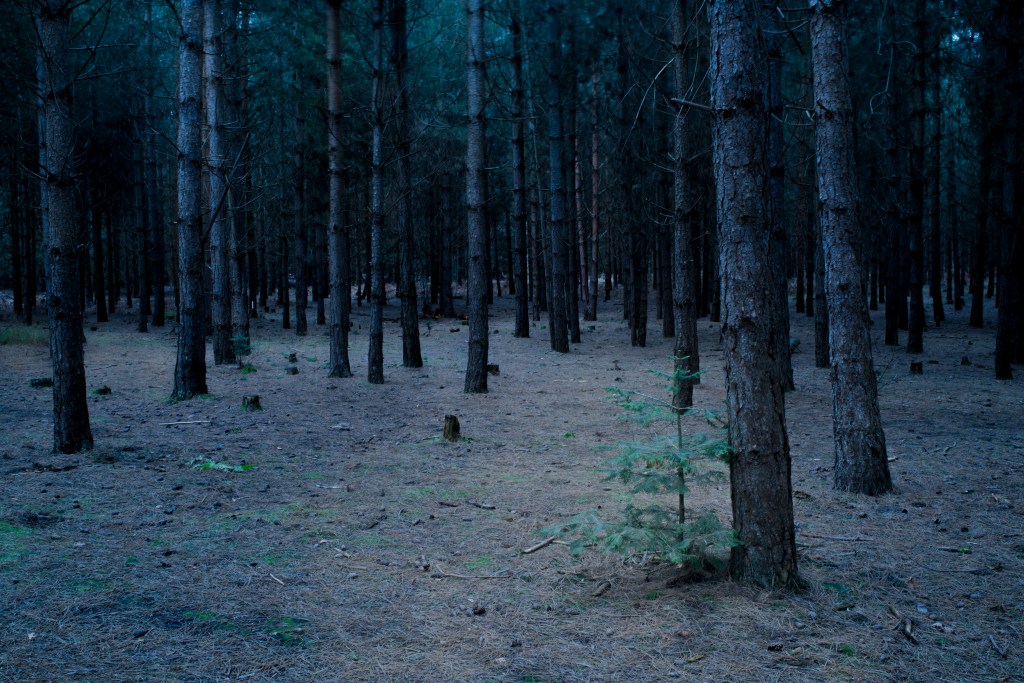
Original 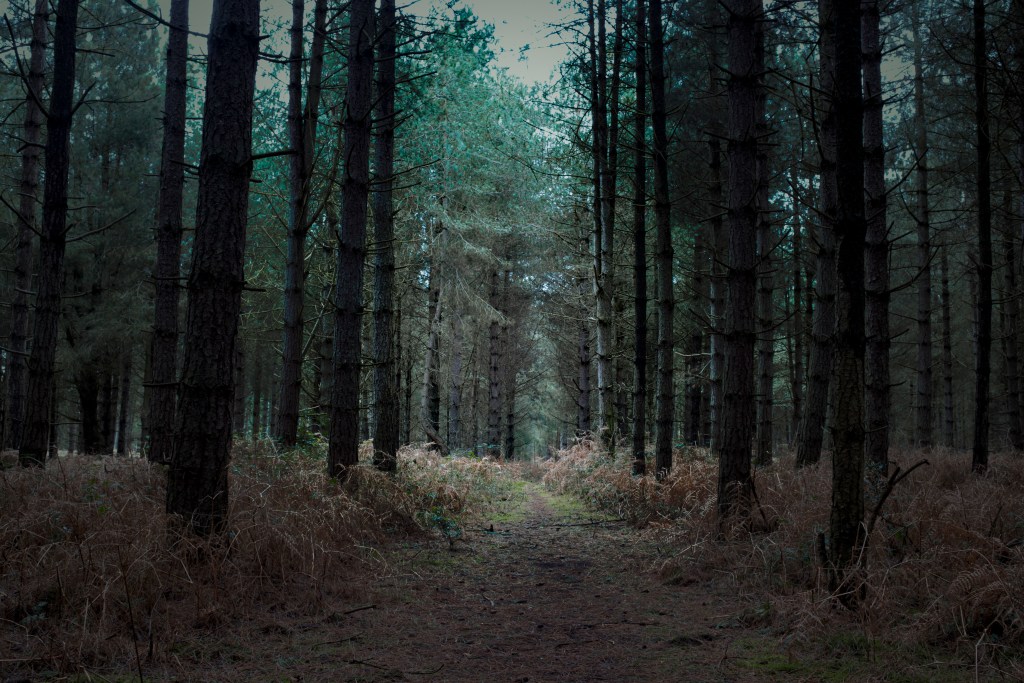
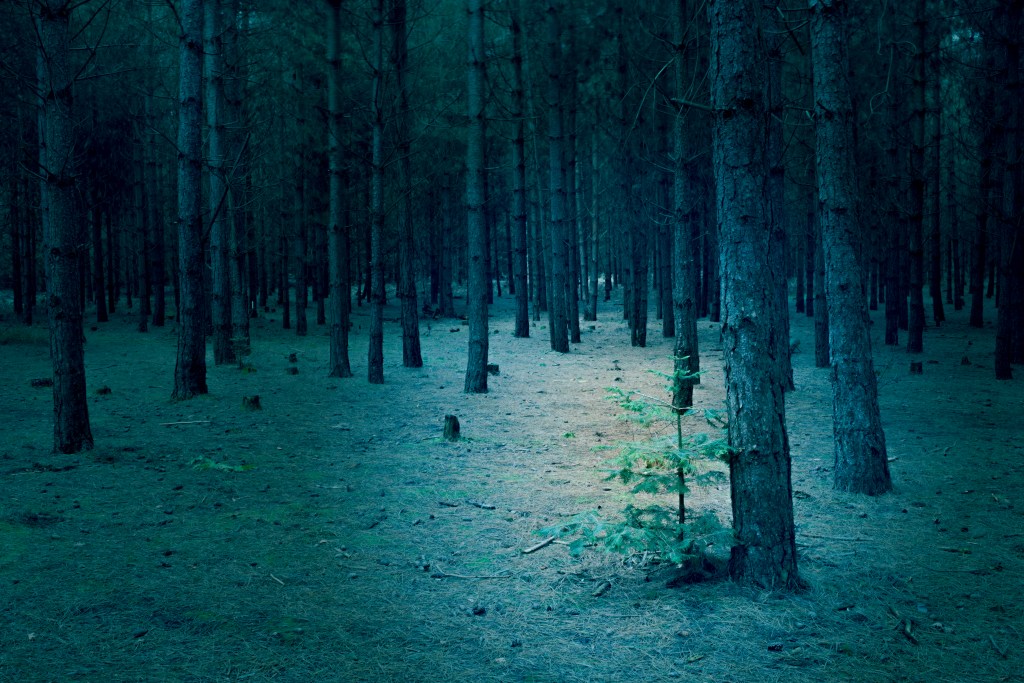
Gradient overlay 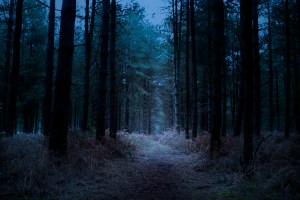
Gradient overlay, linear dodge
The first useful thing to discover was how to apply a cooling filter in adjustments. Secondly was to use a gradient layer to darken some of the image. Getting the colour right was difficult. Thirdly, was using Linear dodge to lighten some areas of the photo. Then finally to make finer adjustments to the colour using ‘Colour balance’.
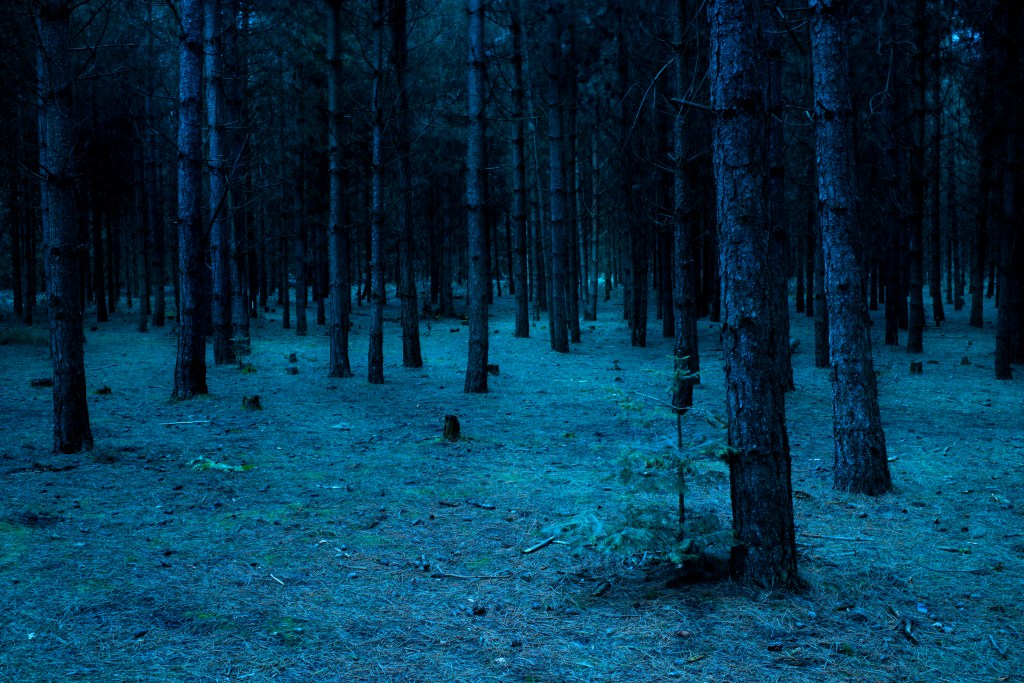
Original 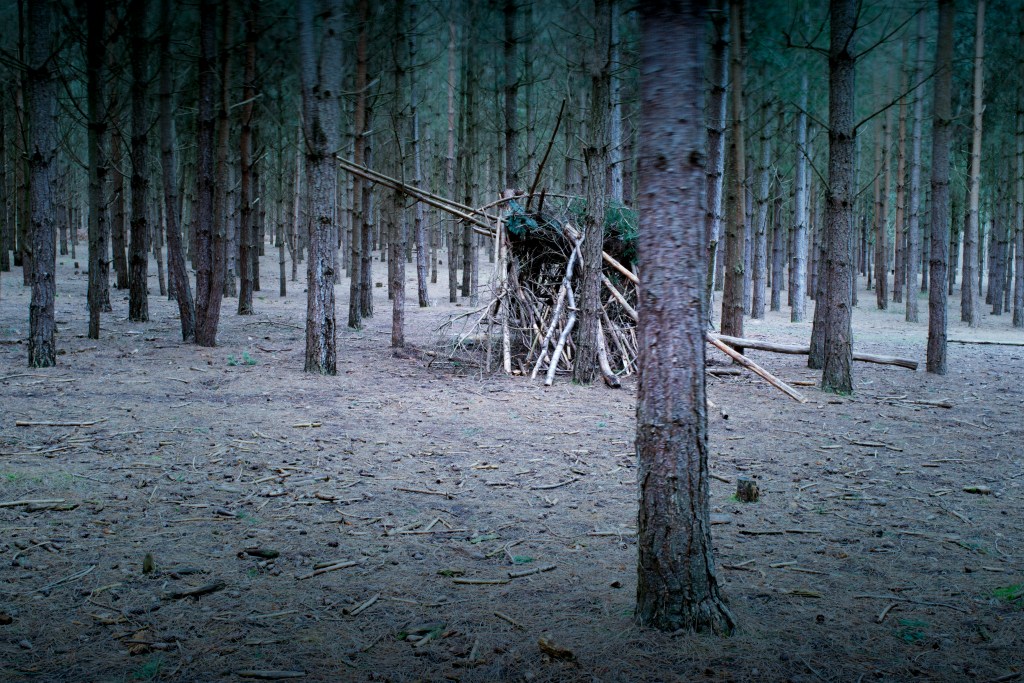
Radial gradient 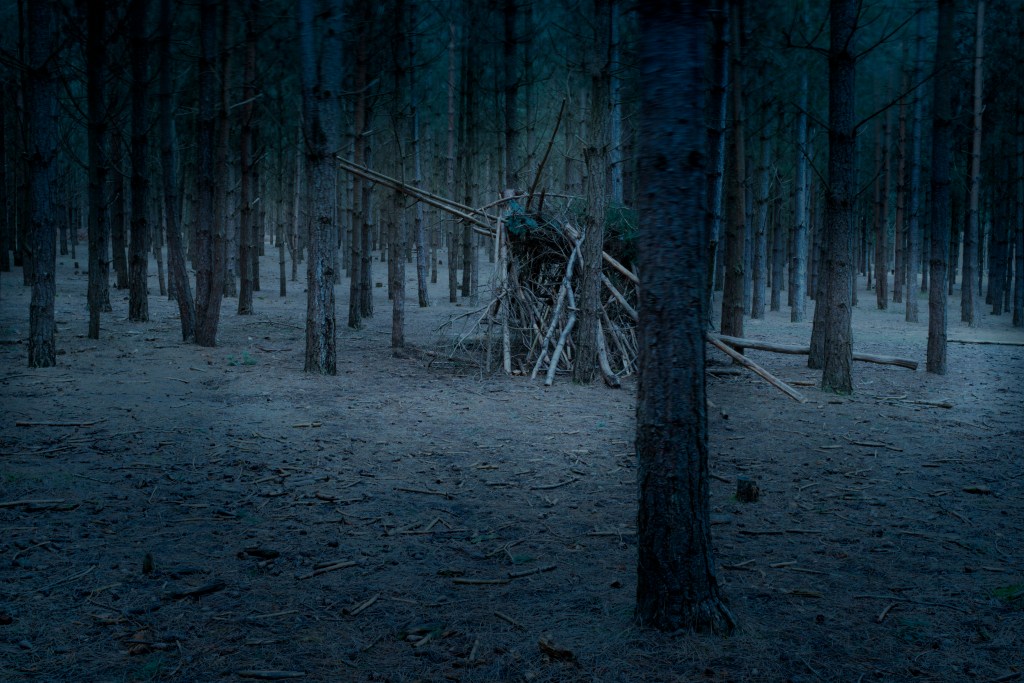
Gradient, linear dodge 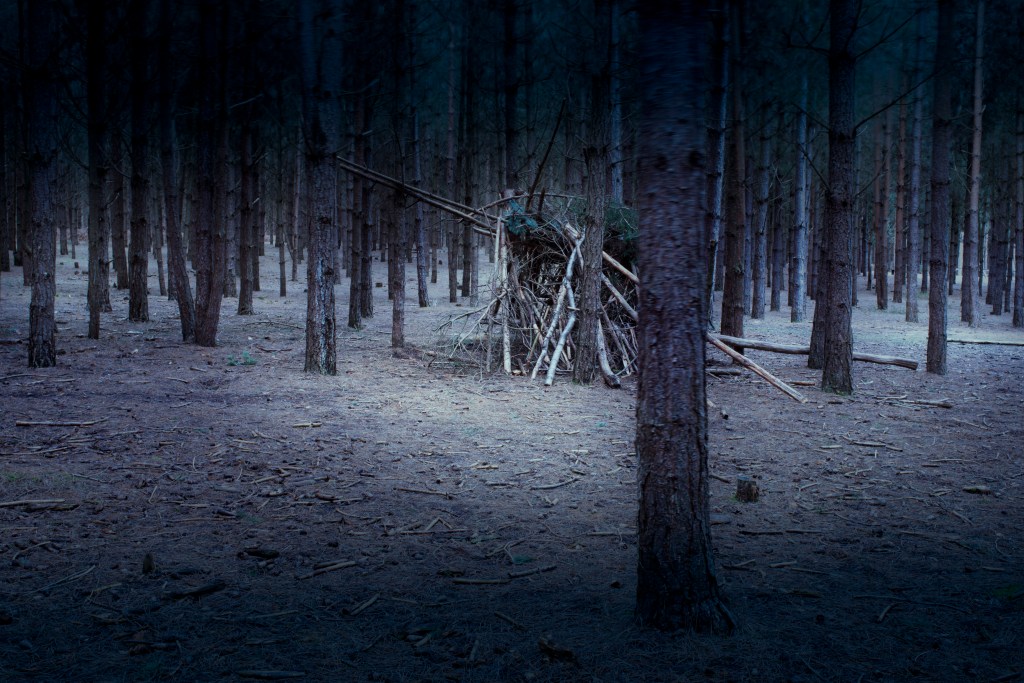
Gradient, linear dodge
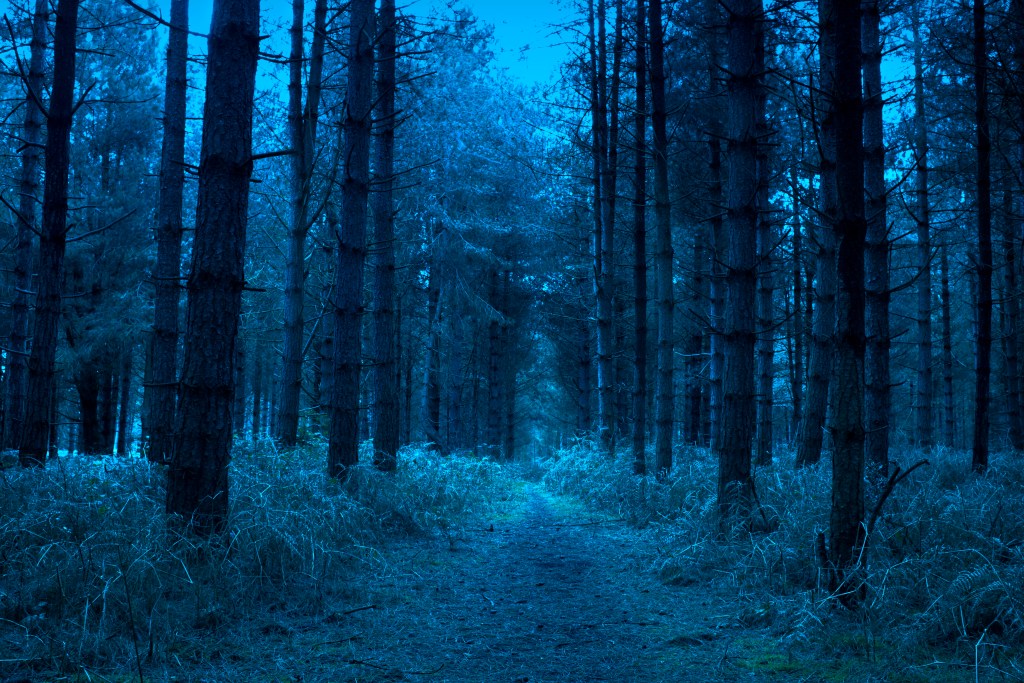
Although this has taken up a few days of work with nothing really useable at the end of it, it’s been time well spent. What I’ve learnt, is that it’s needs a very light touch. At first I was a bit heavy handed. I will continue to practice with some of the other images and look for other tutorials. There’s also the option of using the clouds filter which can create the fog effect that I was initially going for.
It’s likely that I’ll completely reshoot this assignment which may be at the end of Autumn, the colour will be completely different. It may be that I utilise that autumnal colour or go for the dark blue night-time effect. More work is needed but I think a step in the right direction.
PSD Stack. 2020. How To Create A Dark, Eerie Forest Scene In Photoshop – PSD Stack. [online] Available at: <https://www.psdstack.com/photoshop-tutorials/photo-manipulation/how-to-create-a-dark-eerie-forest-scene-in-photoshop/> [Accessed 18 April 2020].
